A lot of our partners have been asking us if it is possible to change the picture on the chosen template and if so, how to do it. So we have created this article to give you a hand. By making your site more unique, you are heading in the right direction for creating a strong brand for your business. This gives the members confidence in your site, and therefore you are more likely to get the conversions you want.
There are a few options for changing the picture.
For those of you with basic HTML and CSS skills:
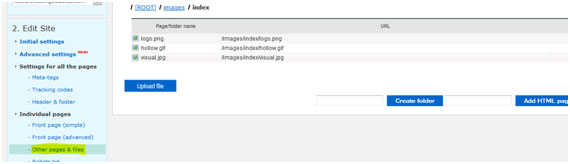
- Upload your new picture via the ‘Other pages & files’ section.Other pages & files section:
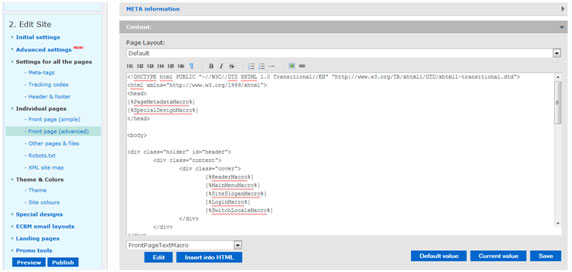
- Change the source code of the front page via the ‘Front page (advanced)’ section:
Find the coding where the image file name is written and put the file name of your newly uploaded file in place of the old name.For example:
If you have uploaded a picture named picture.jpg, change the code of the front page content.So this old coding:
div#body div#first.row {float:left; height:307px; width:776px; position:relative; background:url(/images/index/visual.jpg) top left; no-repeat; z-index:60;}
Turns into this new coding:
div#body div#first.row {float:left; height:307px; width:776px; position:relative; background:url(/images/index/picture.jpg) top left; no-repeat; z-index:60;}
The only section of coding you need to concentrate on is the picture name (emboldened in blue).
Front page (advanced) section:
For those of you who are more comfortable with our systems:
- You can replace the existing picture with your new picture. To do this, give your new picture the same name as the existing picture, this is usually visual.jpg. Then resize the new picture, so it is the same size as the current picture. You can find out the size by right-clicking on the image and checking its properties.
- Upload your modified picture to the ‘/images/index/’ folder via the ‘Other pages & files’ section and it will replace the current one.
See below for a step-by-step guide, using picture examples.
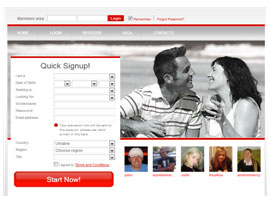
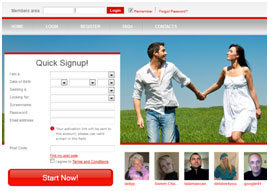
- This is the template we are going to change.
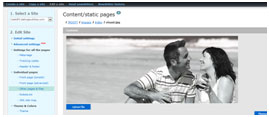
- Click on ‘Other pages & files’, then ‘/images/’ and finally click on ‘/index/’. Here you will see the visual.jpg file. Click on this to load the picture.
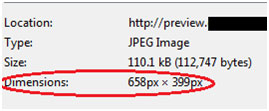
- Next you need to establish the size of the current picture. Right click using the mouse and select “Image properties” to get the information about this image.
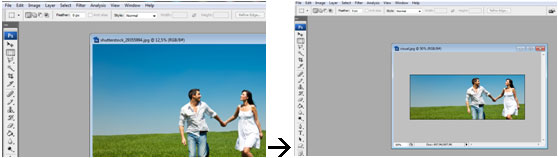
- Now you need to edit your new picture. Use a graphic editor, such as Photoshop, to amend the size and name of your picture.
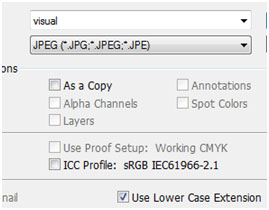
- Give the new picture the same name as the current picture and save it in the same format as the current picture (in our example, it’s visual.jpg):
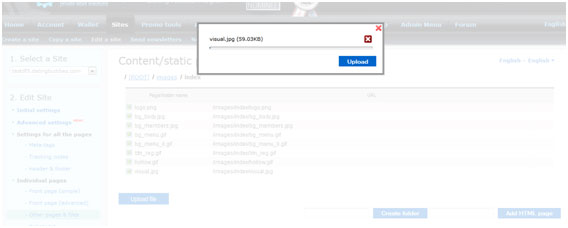
- Go to the ‘/images/index/’ folder via the ‘Other pages & files’ section and upload the edited picture:
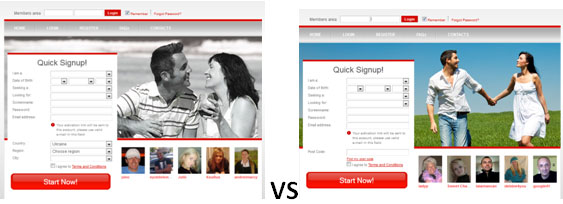
- Click on the “Preview” button and if everything is correct, you will see the main picture has changed to your new picture.
 So as you can see, this is a very quick and easy way of giving your site a fresh look. It’s very unlikely anybody will have the same site picture and colour combination as you and this gives the members confidence that you are an established brand and that they can trust your site.
- Don’t forget to publish the site if you like the result!
For those of you who need direct assistance:
- If you need a hand doing it or are completely confused by this guide, then you can send a picture to your account manager and ask for assistance.
Please make sure that you have a legal right to use a picture on your site. Some stocks don’t allow to use their pictures on dating sites.
Don’t hesitate to contact your account manager if you have more questions.
Nick Dovgopolyy
Senior Account Manager